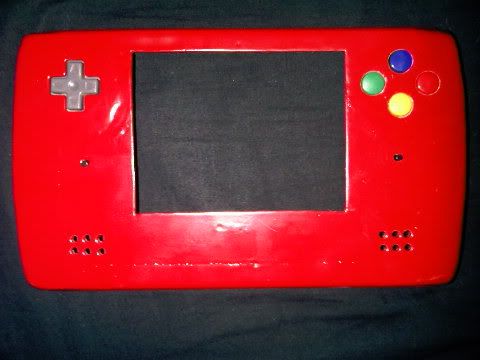
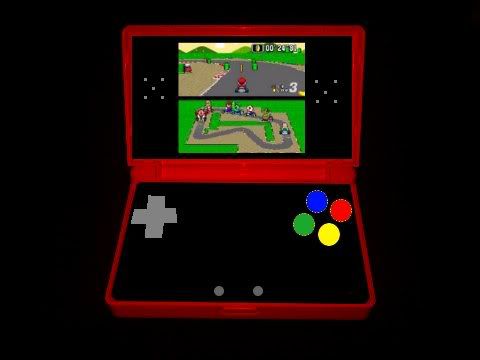
Here's a video of my snes portable so far. The case is about 80% done.
Also I ordered my new snes and LEDs. So when those come I should be ready to finish this baby. I will spend the weekend working the most and it should be done hopefully on sunday.
Monday, January 4, 2010
Wednesday, December 30, 2009
Monday, December 28, 2009
Mock ups and case work.
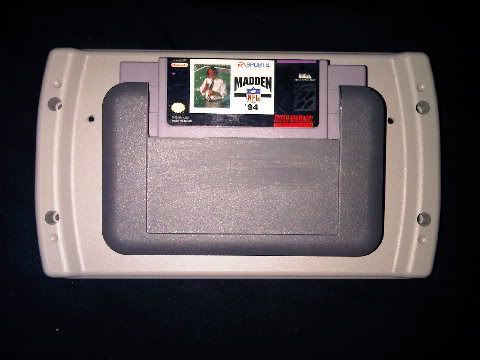
Well so far today I drilled the speaker holes and start/select holes on the front of the case. Then I cut the cartridge case and mocked it up for looks sake. I will be painting hopefully in the next few days after I drill the brightness/volume holes and cut out the controller ports. Here's some pics!


Sunday, December 27, 2009
Not a netbook anymore.
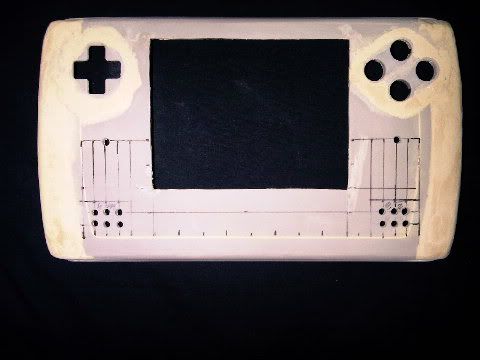
Well I couldn't get the netbook case to fit everything so I decided to use a ZN-40 by Polycase. I got to work to cut and glue in the button holes. The tan stuff is wood putty and the rest is just the abs plastic. Here's the picture!
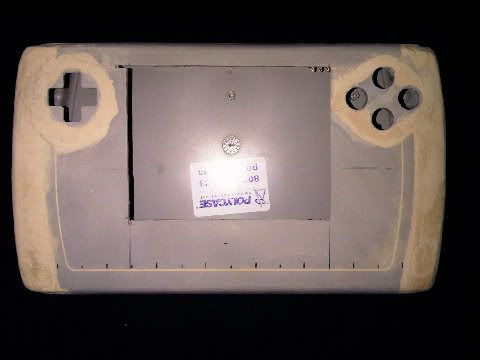
I still need to cut and glue in the start and select buttons but that's mostly it on the case.

I still need to cut and glue in the start and select buttons but that's mostly it on the case.
Thursday, December 17, 2009
Major update
Hello, I haven't posted in a while but I have a few new things to share. I got my zenith screen cut and abs cemented into place. Hopefully that dries soon so I can work on the other side of it. I also cut the cart slot hole. My batteries came in the mail so I wired them up and smae with my smart charger. I also cut the holes for my power switch and power port. And glued them in. Oh yea and I broke my SNES when I was soldering so a new one is in the mail for me.
http://i165.photobucket.com/albums/u58/eomonkeyboi24/IMG00135-20091214-1636.jpg
http://i165.photobucket.com/albums/u58/eomonkeyboi24/IMG00134-20091214-1635.jpg
http://i165.photobucket.com/albums/u58/eomonkeyboi24/IMG00139-20091215-2019.jpg
http://i165.photobucket.com/albums/u58/eomonkeyboi24/IMG00138-20091215-2019.jpg
http://i165.photobucket.com/albums/u58/eomonkeyboi24/IMG00136-20091215-2019.jpg
http://i165.photobucket.com/albums/u58/eomonkeyboi24/IMG00143-20091217-1651.jpg
http://i165.photobucket.com/albums/u58/eomonkeyboi24/IMG00142-20091217-1642.jpg
http://i165.photobucket.com/albums/u58/eomonkeyboi24/IMG00141-20091217-1641.jpg
Friday, December 4, 2009
Concept Art
Thursday, December 3, 2009
Rewired all the capacitors!
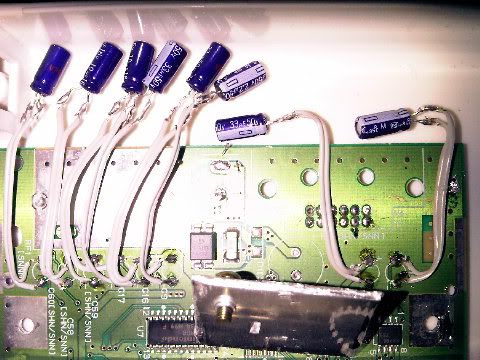
Well yesterday I decided to add more room to the case by flattening the capacitors. Everything worked after a little testing. I am going to order my screen and battery today. I'm ordering a xbox/ps2 zenith 5" screen and a 7.4v battery from www.batteryspace.com
Next step is to buy a desoldering iron and a new soldering iron and relocate the cart slot.
Subscribe to:
Comments (Atom)
